
Building a home golf simulator is one of the most rewarding investments a golfer can make — but it’s also one of the most misunderstood. Between launch monitors, software, projectors, screens, mats, and space requirements, it’s easy to overspend on things you don’t need or overlook components that matter far more than you expect.
This indoor golf simulator buyer’s guide guide walks through everything required to build a functional indoor golf simulator, explains what’s optional, and highlights common mistakes to avoid. Whether you’re planning a simple practice bay or a full immersive simulator room, this overview will help you make informed decisions before buying anything.
Step 1: Define Your Goal (This Matters More Than Gear)
Before choosing equipment, clarify what you want from your simulator:
• Practice-first (range sessions, gapping, swing data)
• Play-first (virtual rounds, entertainment)
• Balanced (practice + course play)
• Solo use vs shared use (family, friends, coaching)
Your answers will influence:
• Launch monitor type
• Software needs
• Screen size
• Budget priorities
Many golfers overspend early because they don’t define this upfront.
Step 2: Space Requirements (The Real Limiting Factor)

Your available space will determine what’s realistic.
Minimum recommended dimensions (general guidance):
• Room width: ~10 feet (12+ is better)
• Room depth: ~15–18 feet
• Ceiling height: 9 feet minimum (10+ preferred)
Some launch monitors require more ball flight than others. Overhead camera-based systems tend to be more forgiving in tighter spaces, while radar-based systems usually need more depth.
We break down space needs in more detail in our individual launch monitor reviews and comparisons.
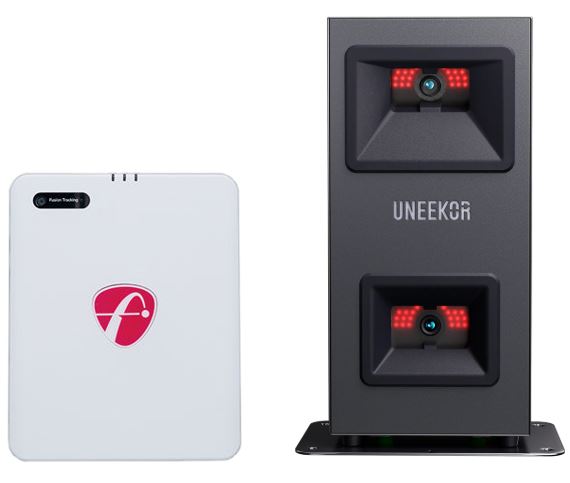
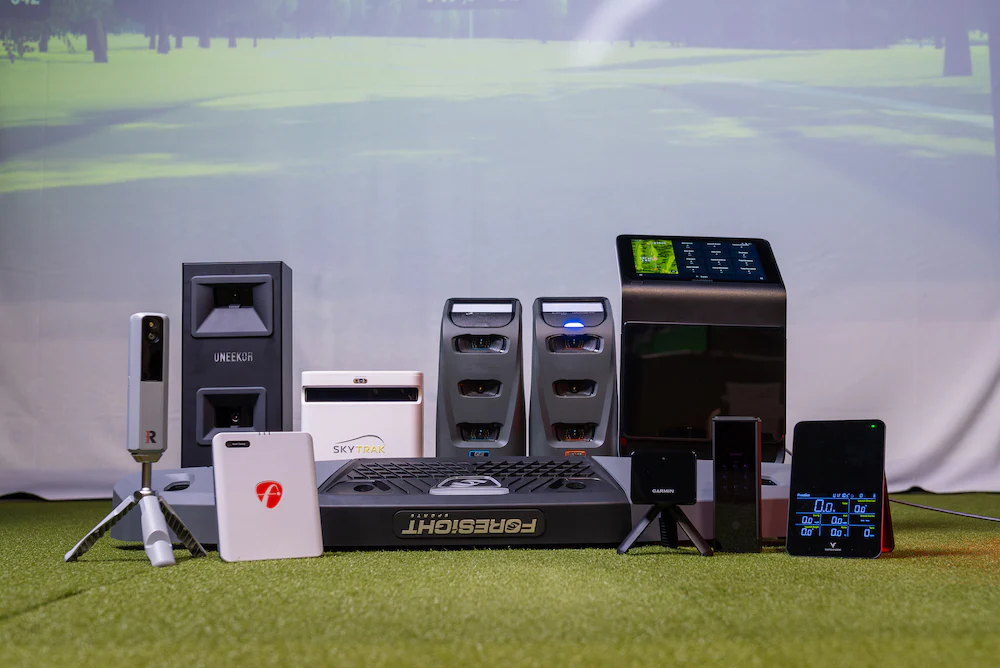
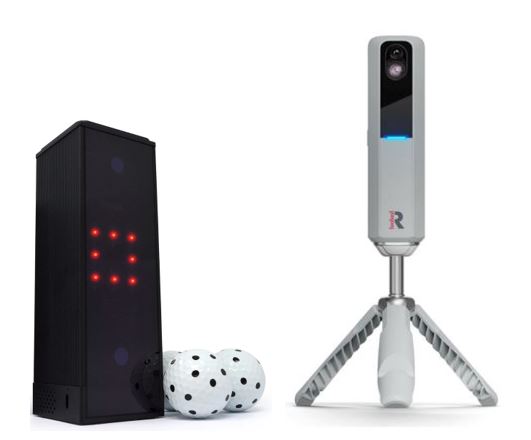
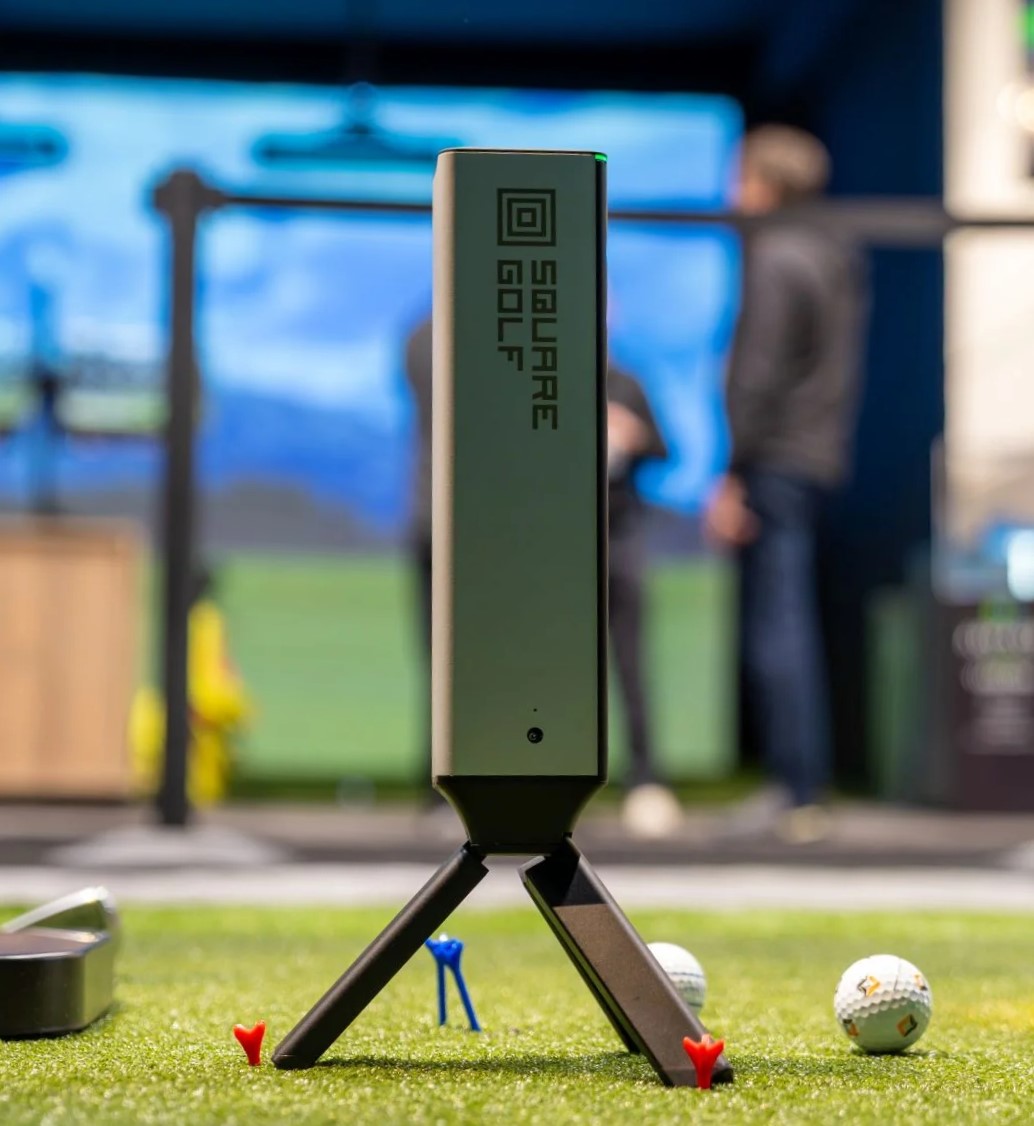
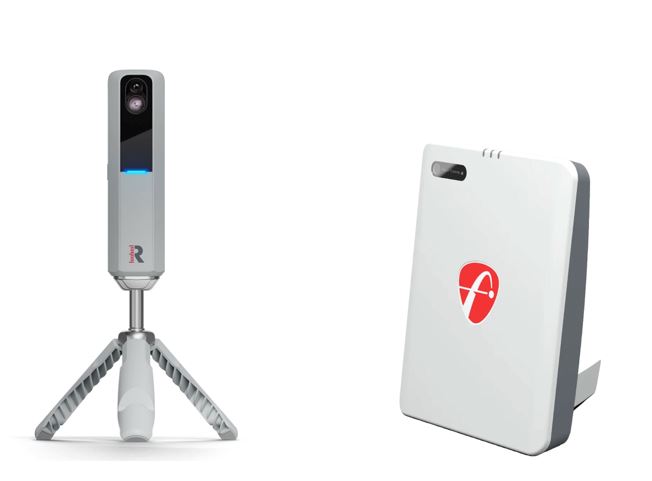
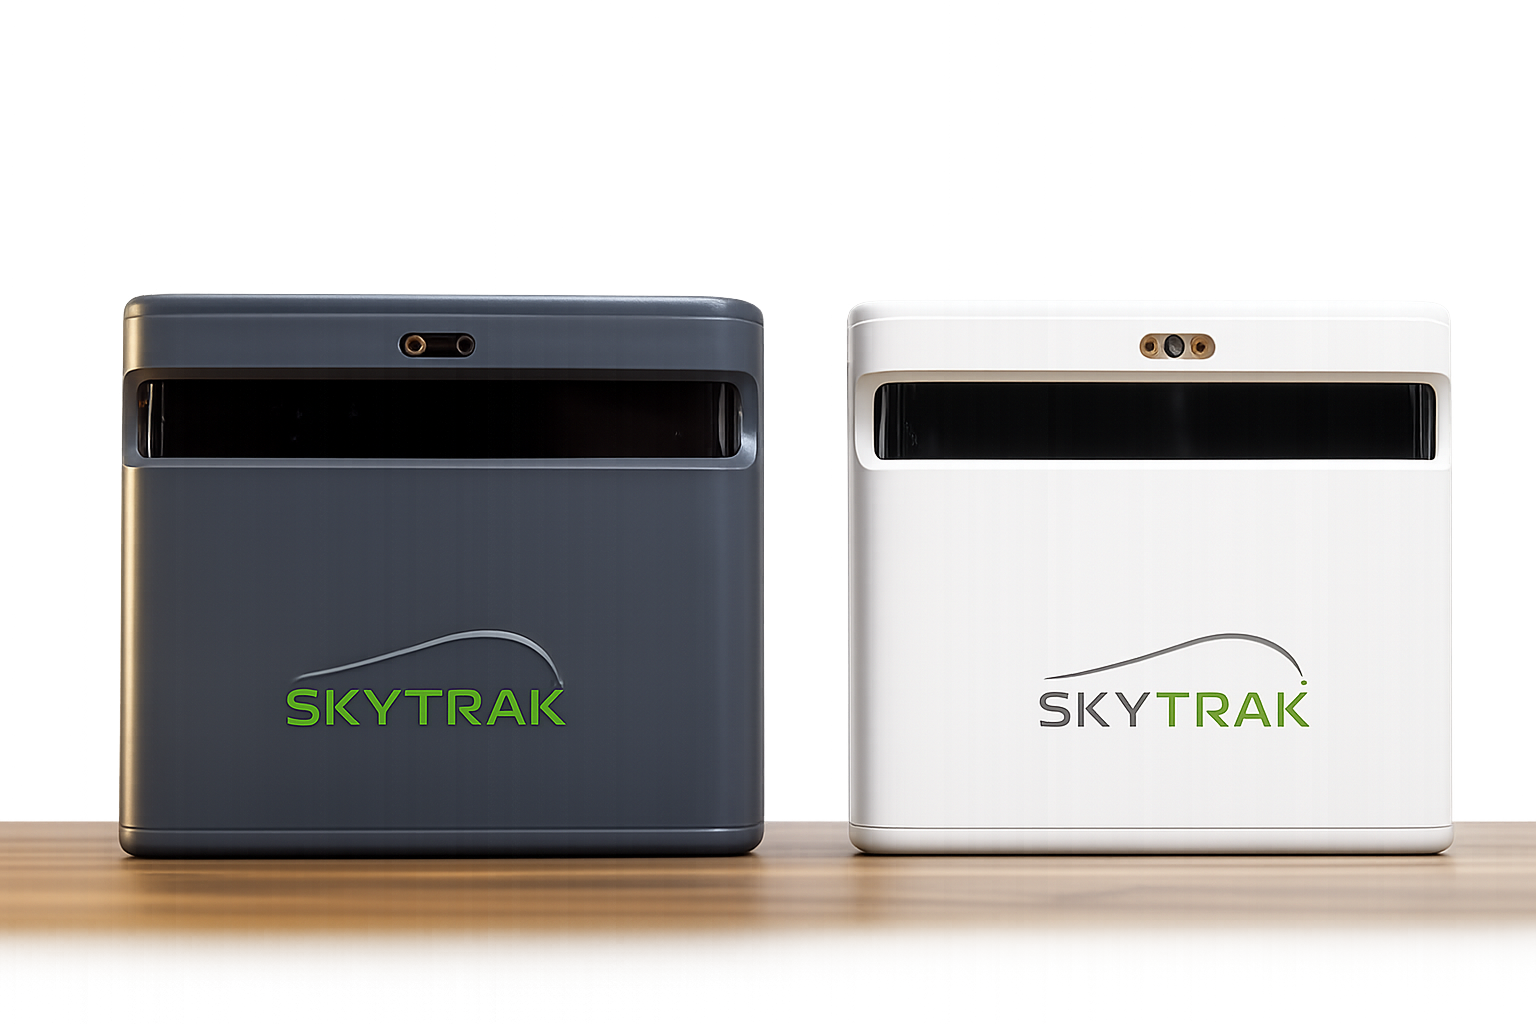
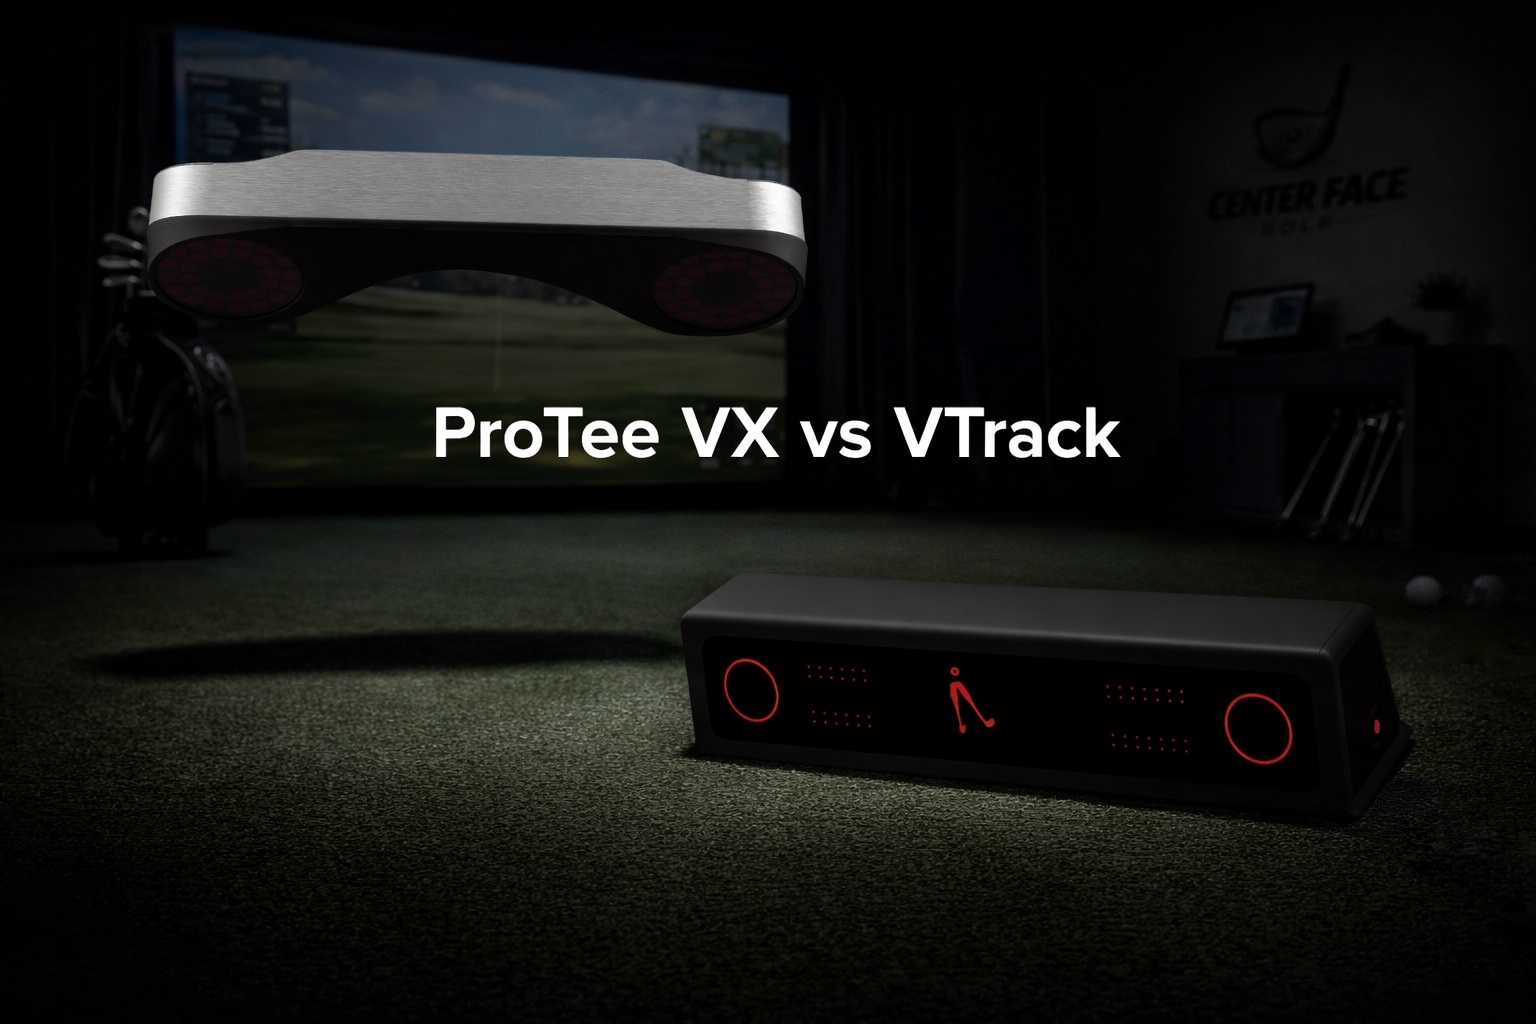
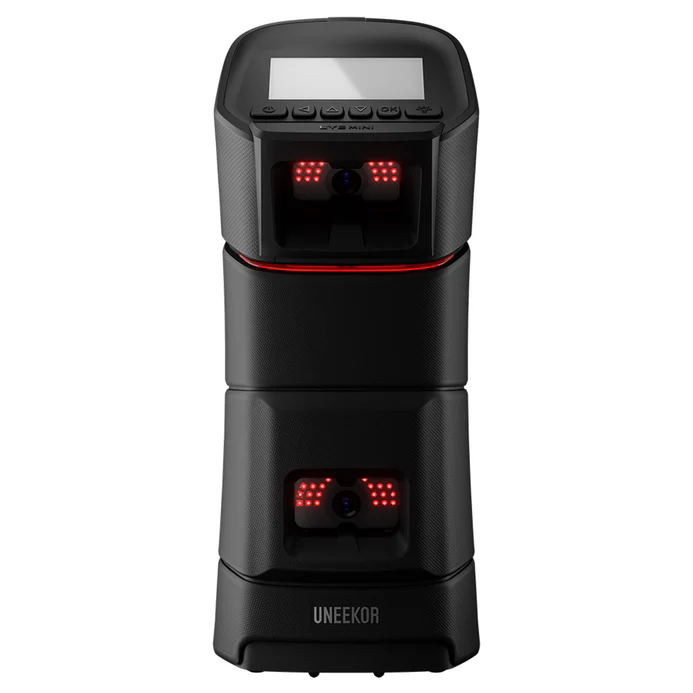
Step 3: The Launch Monitor (The Heart of the Simulator)
The launch monitor is the most important component. Everything else supports it.
There are three broad categories:
• Radar-based (typically behind the ball)
• Camera-based (floor-mounted) (beside the ball)
• Camera-based (ceiling-mounted) (overhead)
For a detailed analysis of Radar vs Camera Launch monitors, be sure to read Radar vs Camera Launch Monitors: What’s the Difference and Which Is Better?
Key factors to consider:
• Indoor accuracy
• Space requirements
• Ball vs club data
• Software ecosystem
• Long-term ownership costs (subscriptions vs one-time licenses)
• Portability requirements (do you want to take it with you to the range or course?)
We have plenty of launch monitor reviews, as well as head to head comparisons in our launch monitor buying guides
Read our complete Best Launch Monitors Under $5,000 article
Read our complete Best Launch Monitors Under $2,000 article
Step 4: Simulator Software (What Brings It to Life)
Simulator software determines how you practice and play.
Core software functions:
• Driving range & practice modes
• Virtual golf courses
• Skills challenges
• Data visualization
Some launch monitors include software with purchase, while others require:
• Annual subscriptions
• One-time licenses
• Third-party connectors
When choosing software, consider:
• Ease of use
• Graphics quality
• Course library
• PC requirements
• Ongoing costs
Many golfers underestimate long-term software costs — something we highlight in our individual reviews.
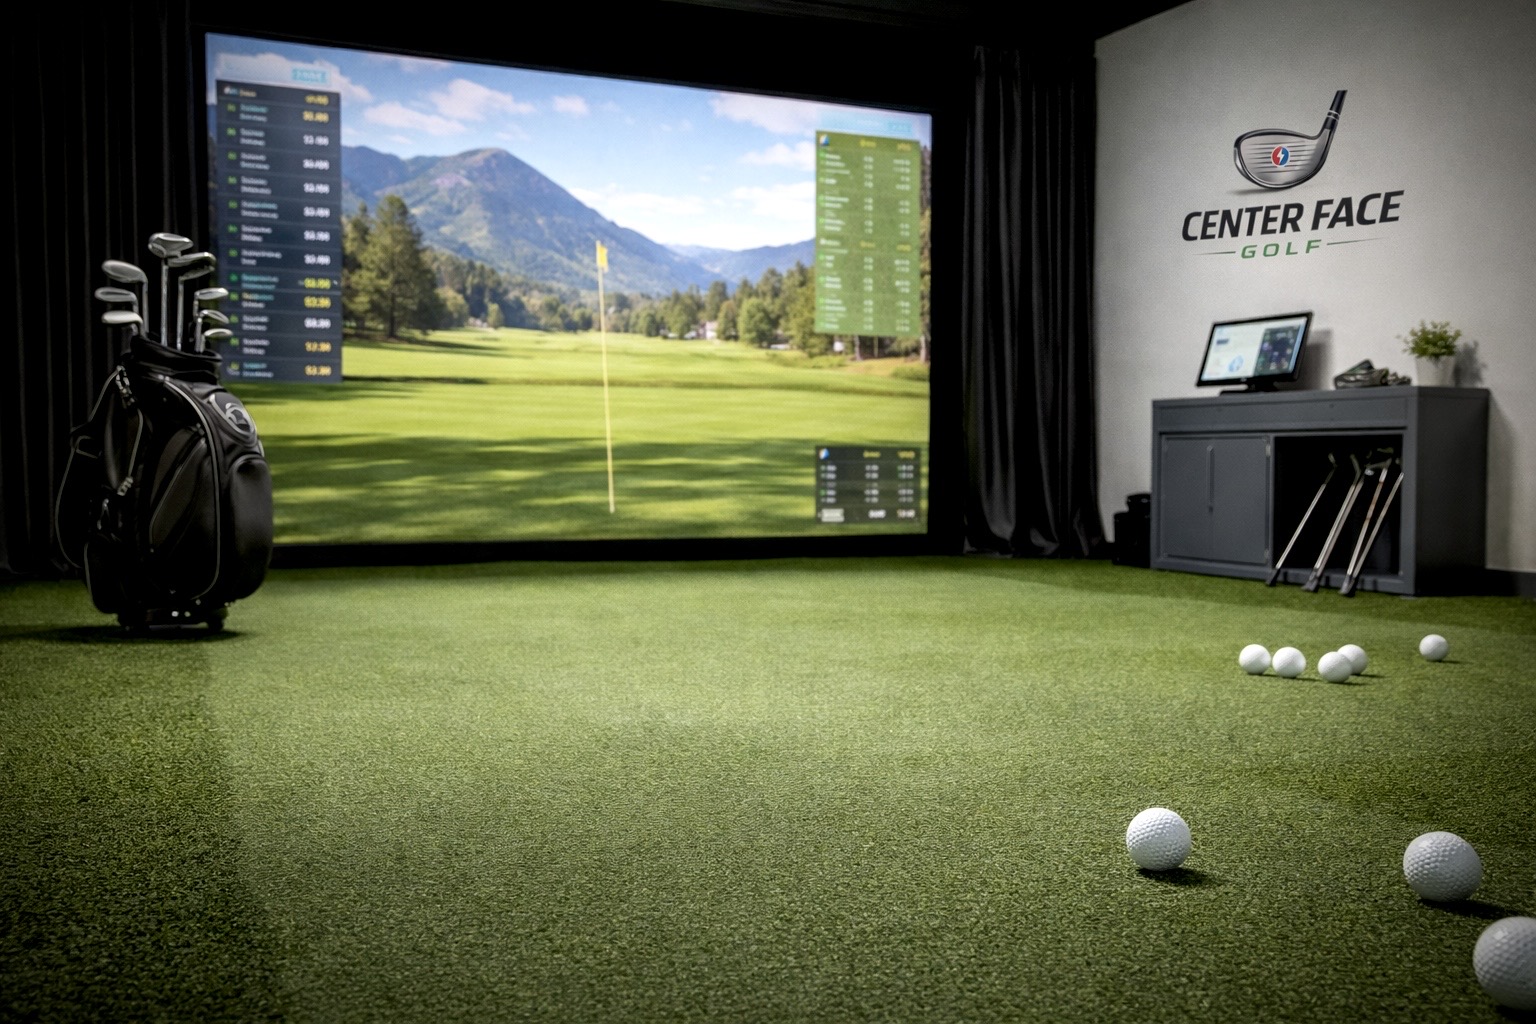
Step 5: Impact Screen (You Don’t Need the Most Expensive One)
An impact screen is required for a true simulator, but premium pricing isn’t always necessary.
What matters most:
• Durability (ball speed tolerance)
• Image clarity
• Noise reduction
• Proper tensioning
Common mistakes:
• Buying a screen too small for the space
• Overpaying for commercial-grade materials in a home setup
• Poor mounting, which causes wrinkles or excessive bounce-back
Screens work best when paired with proper framing or enclosure systems.
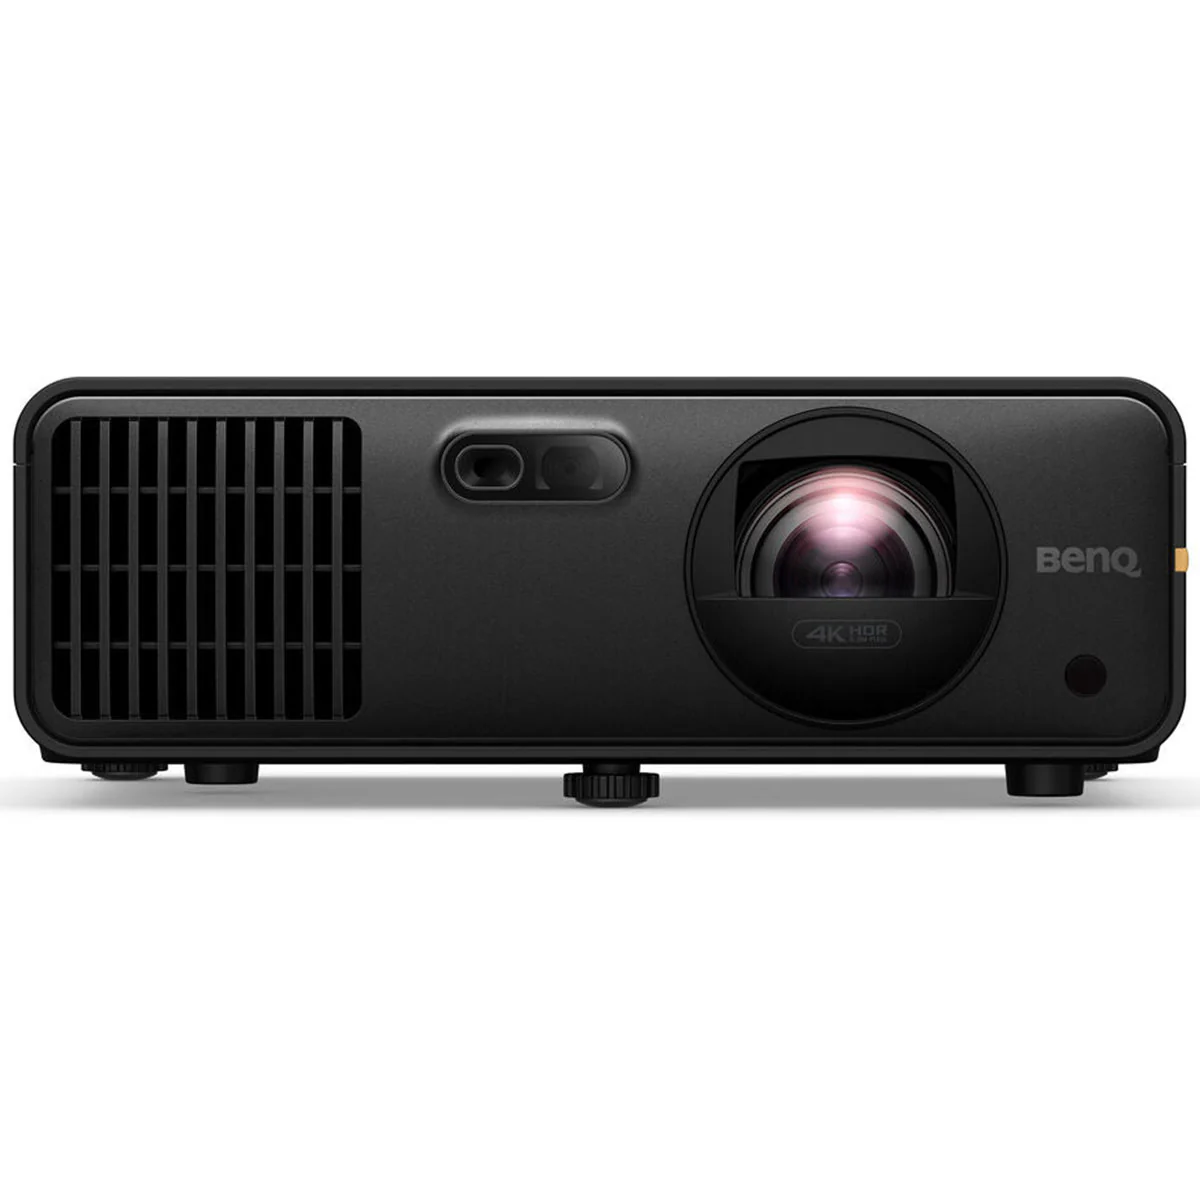
Step 6: Projector (Often Overthought)
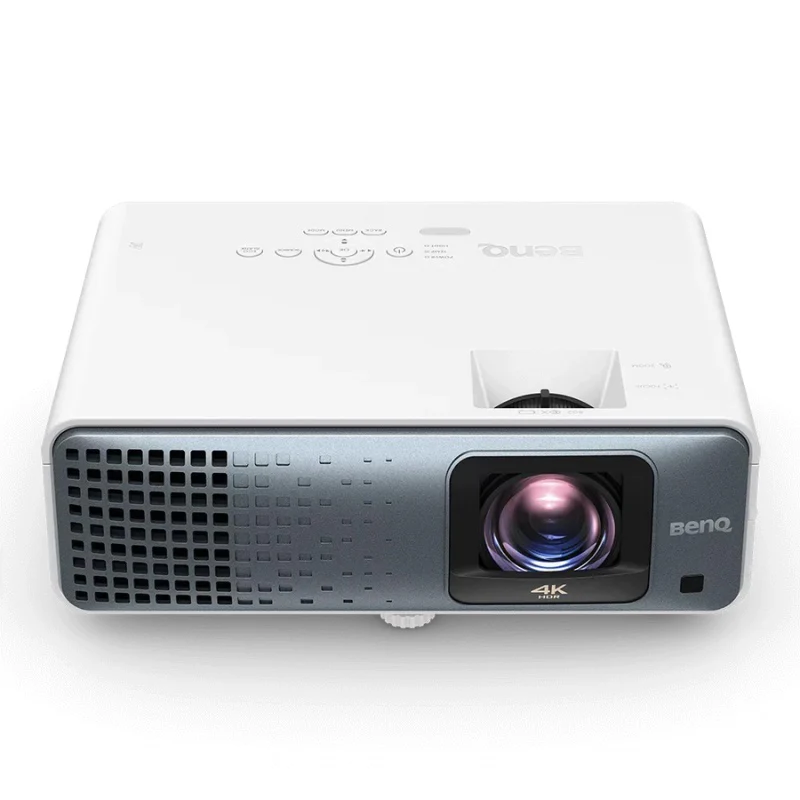
Projectors are important — but you don’t need a cinematic setup. Make sure you read our Best Projectors for Golf Simulators guide.
Key considerations:
• Throw distance (short-throw vs standard)
• Brightness (lumens)
• Resolution (1080p is often sufficient)
• Mounting location
Many first-time builders overspend here, even though projector upgrades are easy later.
Step 7: Hitting Mat (Don’t Cheap Out Here)
If there’s one accessory that affects both performance and injury risk, it’s the hitting mat.
Look for:
• Realistic turf interaction
• Proper shock absorption
• Replaceable hitting strips
A poor mat can lead to wrist, elbow, and shoulder issues — especially during frequent practice.
Step 8: Computer or Tablet (Depends on Your Setup)
Your simulator software dictates hardware needs.
• Some systems run on iPad or tablet
• Others require a gaming PC with a dedicated GPU
Important factors:
• Graphics card requirements
• CPU performance
• Storage for course libraries
We recommend confirming software requirements before purchasing hardware.
Step 9: Optional (But Helpful) Accessories
These can improve the experience but aren’t mandatory:
• Side netting or curtains
• Lighting control
• Sound dampening
• Alignment sticks or laser guides
• Swing cameras for video analysis
Build the core first — add these later.
What You Don’t Need (Common Overbuying Mistakes)
Many new simulator builders waste money on:
• Oversized enclosures for small rooms
• Ultra-high-end projectors early
• Commercial-grade hardware unnecessary for home use
• Multiple software platforms at once
A well-balanced setup beats an overbuilt one.
Budget Ranges (Realistic Expectations)
While costs vary, rough ranges look like:
• Entry-level simulator: modest investment, practice-focused
• Mid-range simulator: strong realism, good software, balanced use
• High-end simulator: immersive experience, premium hardware
We cover specific recommendations in our budget-based buying guides.
Best Launch Monitors Under $1,000
Best Launch Monitors Under $2,000
Best Launch Monitors Under $5,000
Final Thoughts: Build Smart, Not Fast
A great indoor golf simulator isn’t about buying the most expensive components — it’s about choosing compatible, well-matched pieces that fit your space and goals.
Take time to:
• Measure your room
• Understand software requirements
• Compare launch monitor ecosystems
• Prioritize accuracy and safety over aesthetics
At Center Face Golf, we focus on helping golfers make confident, informed decisions — whether you’re building your first simulator or refining an existing setup. Our launch monitor reviews, comparisons, and buying guides are designed to support that process every step of the way.


One Response
Hello I am testing the comment fild